Introduction

I hope you'll join me in creating memories and sharing the passion of experimentation.

Anything goes, but food, sewing, hosting and DIY are my favourites, what are yours?

Tuesday, 24 February 2015

Make your own...

...Oven Mitt, in just a couple of hours!

You may be thinking, why on earth would I make an oven mitt when you can pick one up so easily in almost any store, but I say why not?! Especially when you can make it all pretty and match your kitchen accessories. Once you've got the basic pattern you can go bananas with embellishments, yay!

Here's how, lets get started!

You'll need just a few things to get started:
- Your chosen fabric, four 20x30cm rectangles should do it (2 of these rectangles can be left over fabric as they will be on the inside)
- Thick heat resistant wadding, two 20x30cm rectangles
- Paper to draft a pattern on
- Some binding
- The essentials: Scissors, thread, pencil etc
- Then the fun part, embellishments!! I used a bit of lace trim


First you'll want to take your wadding and sandwich it between two pieces of fabric (one outer and one inner piece). Next pin and tack the fabric to the wadding to secure it in place. Repeat with the other piece of wadding and fabric rectangles.

Next sew parallel diagonal lines all the way across the pieces of fabric/wadding in one direction, and then the other direction to create a diamond pattern. The spacing of lines could depend on your fabric design, mine were about 1inch apart. You should end up with 2 quilted rectangles.


Cue tea break, and a sneaky biscuit :)

Lay your hand on the pattern paper and roughly draw round your hand with a space for your thumb, this takes a bit of judgment and practise as you don't want to end up with a really tight oven glove! Don't forget to add a seam allowance all the way round too (I may have done this 1st time around).


Cut out your two quilted rectangles using your newly created pattern piece. Then pin and sew the two pieces right sides together all the way round, keeping the bottom open. If you'd like a little hook to hang up your oven mitt this is the time to add it in. Pop a little loop of binding inside the two pieces before you sew them together.

Nearly there.... Turn the mitt the right way out and use the binding to encase the raw edges.

Now the fun part, embellish embellish embellish! Lace, applique, ribbon, buttons, anything you like!

All Done :) Well done.

What embellishments did you go with?


Sunday, 15 February 2015

First sewing project of the year

Happy Sunday everyone! Here it is, my first real post of 2015. I wanted to tell all of you lovely people about my first sewing project of the year. Better late than never eh?!?


I've had this pattern sitting all sad and unused since London's Makegood festival last May. If you're in London this May you really should give it a visit - it was so good last year! It's one of Tilly's patterns from Tilly and the Buttons which was included in her book that I purchased at the Makegood festival. If you haven't got this book and are new to sewing, I highly recommend it; beautiful images and clear instructions makes one brilliant sewing book!

This is the Megan Dress from Tilly's book. I made some minor adjustments to the pattern after being inspired by another dress I saw online a few weeks ago. I lowered the waistline by about 6cm,  which involved a little experimenting with the darts. The original pattern is designed as an empire waist line, which is lovely, but I thought this lowered waist would work better with the design I had in mind. I also added a self-drafted collar and button placket.


I had to grade between a few sizes (Tilly gives a great explanation of how to do this in her book) and take out a little fabric in the back bodice, which I often have to do, but after that everything went together smoothly.

I was so pleased to give this pattern its first outing and I'm really happy with the results! Thank you Tilly!

I can't wait to make another version of this dress with the original waistline, perhaps with a soft cotton with a little stretch to make a comfy number - what do you think??


What have you been sewing this year? I'd love to hear about it :)
With love -x-x-x-

Saturday, 7 February 2015

Hi again.... it's been a while!

Hi there!! It seems my last post was over a year ago, 1 year 6 months and 1 day to be precise...

Since then I've bought my first flat (with a boy no less... eek), spent all my energy, money and sanity renovating said flat, changed jobs and had some great adventures along the way. It's safe to say that I've been a little busy and today is the first day I've opened this blog since the 6th of August 2013.

I spent my New Years day both slightly blurry after New Years Eve antics and thinking about what I wanted to achieve in 2015 (more about that in a later post). I found myself thinking about this blog and realised that I really wanted to get it up and running again. It's great to hear about what other bloggers have been up to, and I hope you'll enjoy listen to me rattle on. I plan on adding lots more photos than before, so I promise to keep my 'rattle' to a minimum.

Please do say hi, I'd love to hear from you!

Hope you all have a cracking 2015.

Jemima, with love.

ps. here's a few of my favourite memories from 2014
Renovation mess, the first time we could eat food at a kitchen table, our first veg and flowers from the garden, celebratory holiday and Forest of Dean

Tuesday, 6 August 2013

Homemade footstool/storage box

I must admit this project had been half finished since Easter, but last weekend I finally completed it, and I'm so happy I did. Although there's lots of things I could improve on next time, I'm really excited to share it with you as I'm pretty pleased with how it turned out :)

I took my inspiration after a trip to one of our local home furnishings shops. On sale were these storage cubes on little feet which were really sweet and I was tempted to buy a couple... until I saw the price. £45 for what is essentially 6 pieces of wood - I don't think so. I decided to make one myself with a few added touches.

I had a few scrap pieces of wood, a tin of wood stain, some spare fabric, wadding leftover from another project and some spare tacks and hinges in the shed, so all I needed to find was some foam and some wooden feet. I was on a mission. A trip to the market later and I had the foam square (for 50p)! Next the feet - If you had time then I would suggest searching markets and carboot sales for old stools where you can chop off the feet. TIP: Alternatively you could make it a little bit more contemporary and use brass door knobs as feet (I was very tempted). But I was determined to find the perfect thing the same day, so I logged on to eBay, and to my delight found 4 hand crafted wooden feet. PERFECT!

Now here's how I put everything together...

My first tip would be to draw out your plan and make sure you've got the measurements correct. There's nothing worse that chopping all the bits of wood and finding out that it doesn't fit together. 


Once you have your plan, you can start cutting your wood to size. I based my sizing on a couple of books that I was intending to store inside. Once you're done, make sure they are all sanded down and then you can start assembling.
I chose some 180 degree hinges, but you can play around with some in a DIY store. Some you can see when you close the box, some you can't.


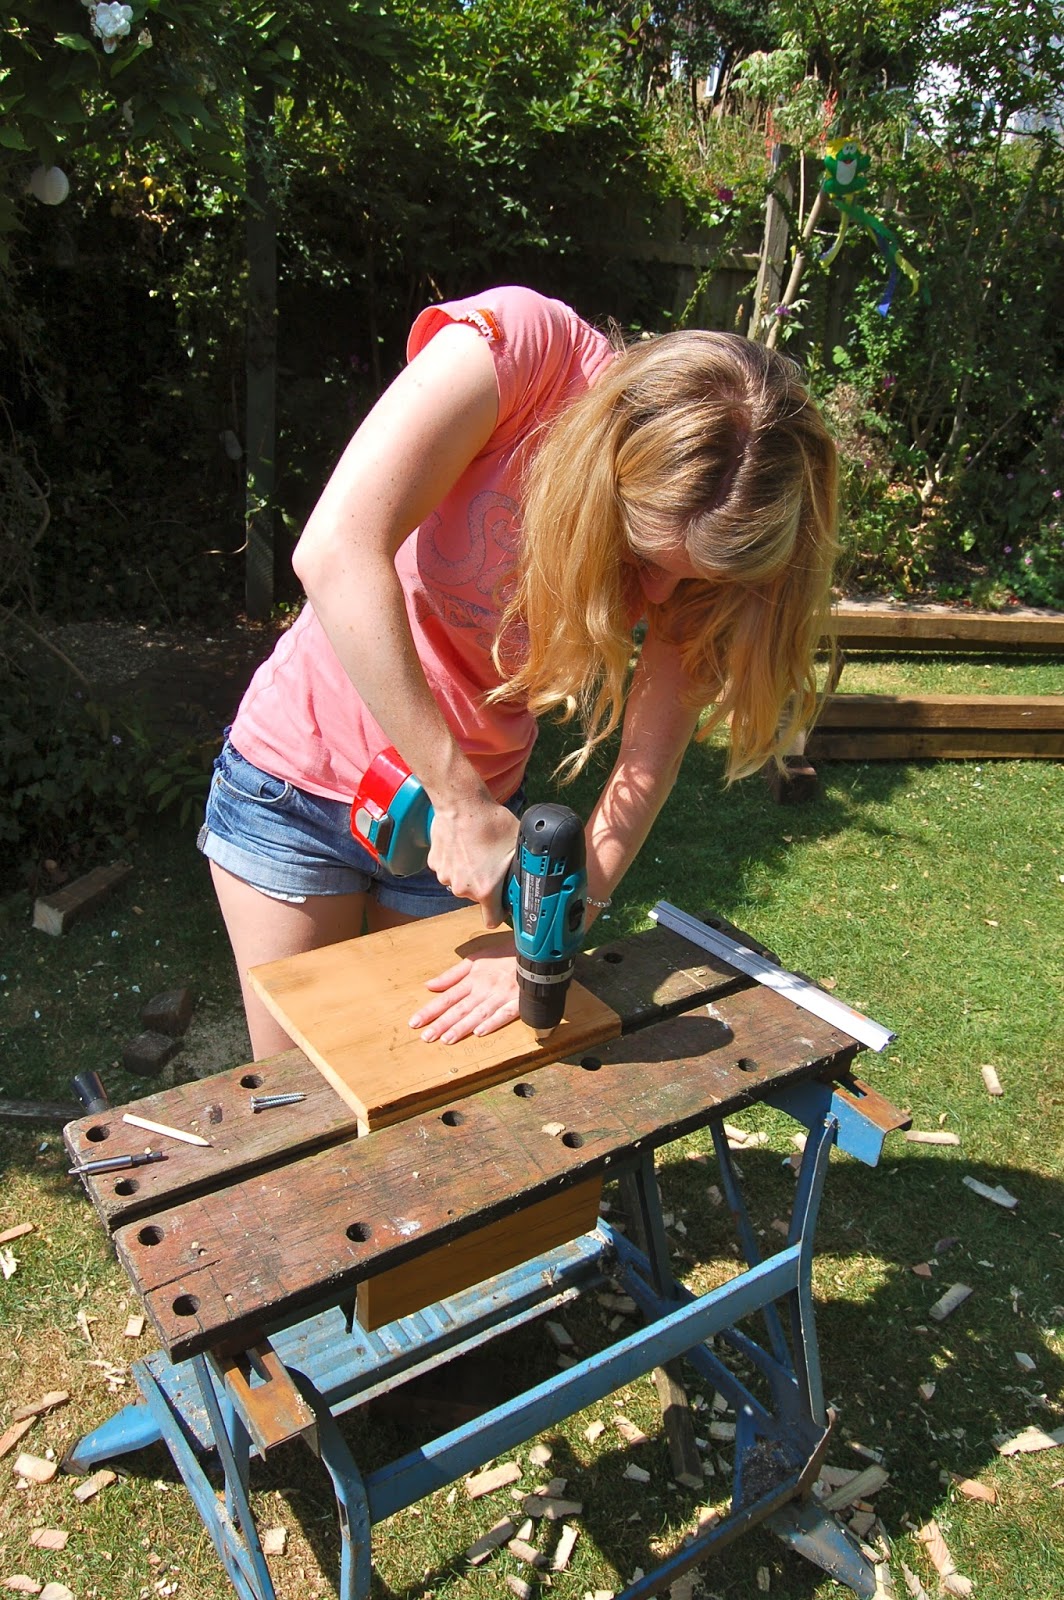
TIP: I would always recommend pilot holes before putting in the screws, that way your wood won't split, especially if it's a fairly thin piece of wood!

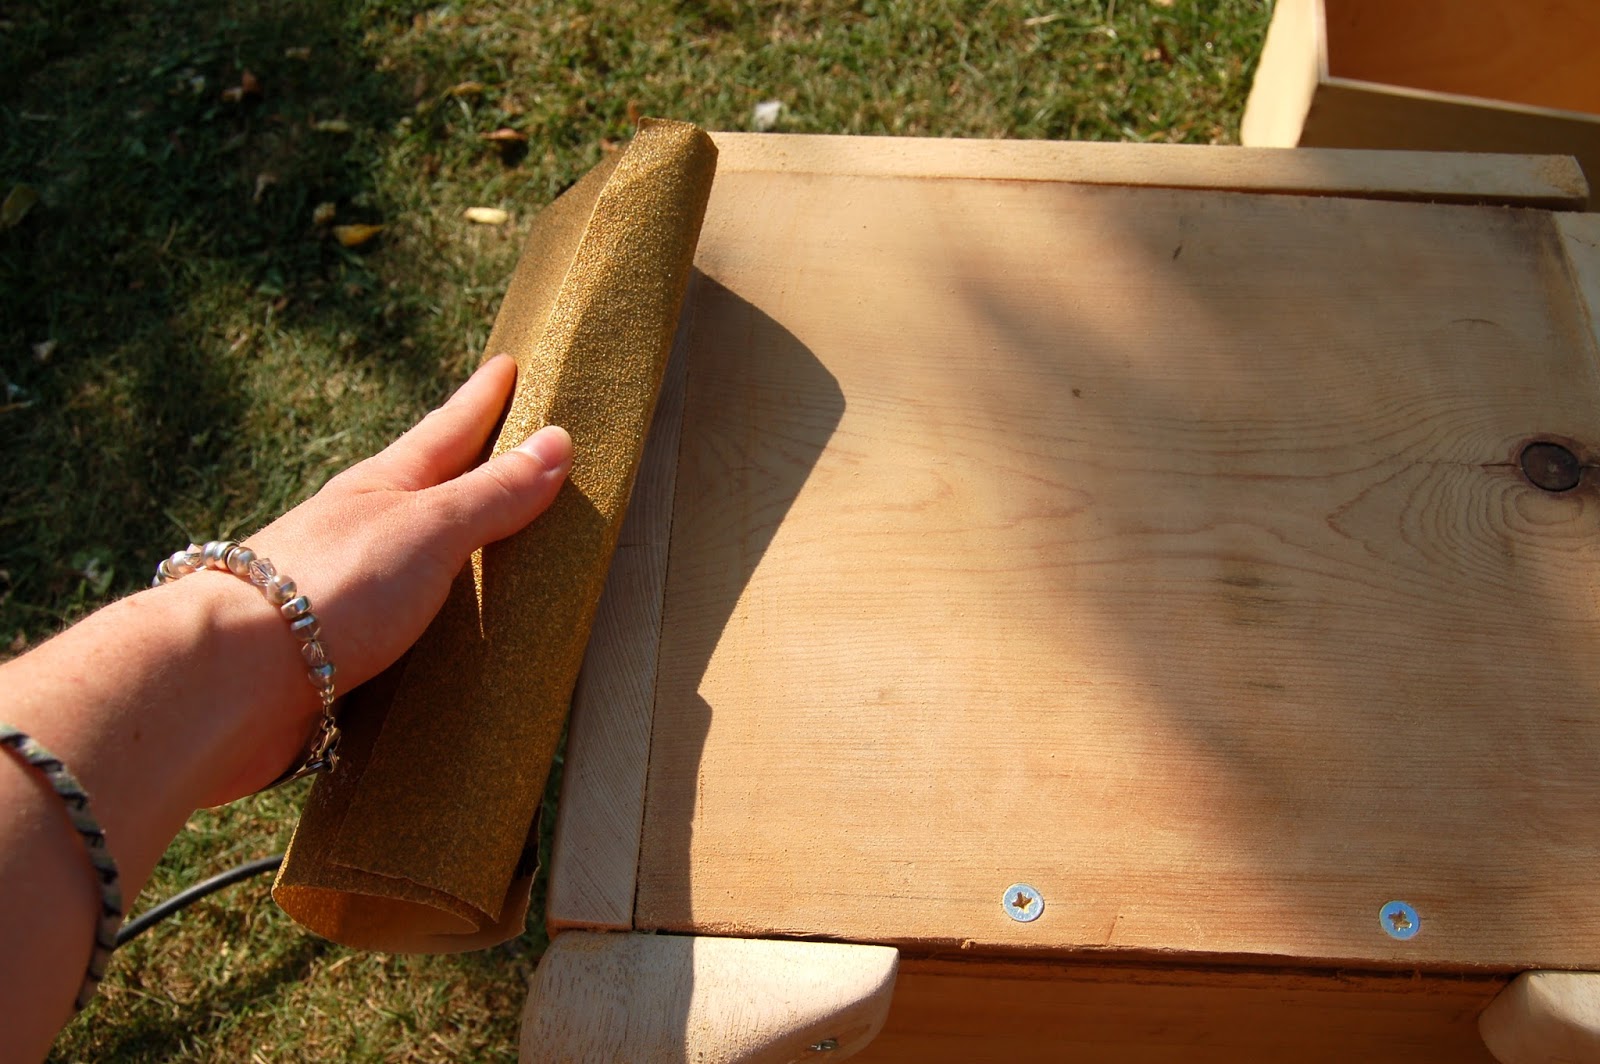
Once everything is screwed together (including the feet) it's time for one last sand. Maybe you'll be more accurate than me, but I always end up with a little overhang of the edges when screwing things together, so I like to sand everything down so it's all nice and inline.


Got your wood stain ready? Time for painting! You could change the effect of the stool by painting with emulsion and then sanding it down for a weathered look, but I wanted a more simple design, so I got my paintbrush and gave the box two coats of stain. Now that everything is painted, try and balance your box so that the least amount of edges are touching the surface so that everything can dry. If you were more patient than me, then you'd wait until one side was dry so you could lay that side down to paint the rest....but that's a little bit too sensible for me...


Now, I happen to think this box looked good without the fabric cover on, and I almost stopped at this stage - but I had a plan, and I stuck to it. On with the foam and wadding!


Cut out your foam to the size of the lid, and a piece of wadding big enough to stretch over the foam and down to the bottom of the lid. Cut your fabric about 1cm larger (on all sides) than your piece of wadding. Now for the fiddly part - if you have a helper, call them over.

Lay your foam on the lid, wadding over the foam, and material over the wadding. Next your going to take 4 tacks and hammer them in on the middle of each side - pull the material tight over the foam and wadding, making sure the whole lot stays


central on the top of the box, hem the material so that the hem line is inline with the bottom of the lid, and hammer in your tack. Well done, you've done the most difficult part!


Work your way around the box with more tacks, folding the corners neatly, making sure to pull your fabric tight all the way around.

And that's it, you're done. One functional, yet beautiful footstool. Anyone can give this a go. And if you're worried about the woodwork, do not panic, if it ends up a little wonky just cover all the sides in fabric!

Send in pictures of your boxes :)


Thursday, 1 August 2013

Pinny of the Month

This month's pinny of the month entry has been on my wish list for a while....it has a fabulous country bumpkin style and is from the Betty Boyns collection.

I was inspired by so many things after visiting London's 'Spirit of Summer' event; there were ideas for your home, exciting foods, clothes, jewellery... everything you'd expect from a Summer fair really, but there was one stall that I found myself coming back to again and again; the Betty Boyns stall.

Based in Cornwall, Betty Boyns has created their own fabric and oil cloth range; and subsequently made pinnys, tea cosies, cushions etc. They've successfully created their very own vintage country style. I love all of the fabric designs, and their products are a must have for any home; in the country or not.
Betty Boyns Red Cowslip Apron


     My favourite (I think...it changes quite frequently) of their pinny's, is the Red Cowslip Pinny, and at only £15 I think everyone should click the link and purchase it today!

     I really like to support small family run businesses, the products are so much more personal, and those little touches make all the difference.


But the real reason this company won me over was the fact that you can buy the fabric on it's own! I always get frustrated when I see a product which I like, but would want to change slightly, or do something a little different. Usually I find myself unpicking a finish product to try and adapt it to how I like it, and pay full price for the pleasure. Not with Betty Boyns; you can walk away with the fabric of your choice and inspired to create whatever you fancy.

Naturally I came away with a couple of meters of their duck/goose print cotton. How could I resist????


Now to decide what to make with it.... any suggestions?

Monday, 29 July 2013

The latest on Freddie and Delilah...she's a GIRL!!

After months of speculating, trying desperately to analyse the head bobbing, quacks and altogether disturbing noises the ducks make in the pond, we have an answer!! Delilah is a girl!


When we got Freddie and Delilah we were told, as the names suggest, that they were one boy and one girl. BUT she's never started laying...which is pretty strange we thought, given that they are about 9 months old now. For the last month we had almost resigned to the fact that she must be male.

And THEN we found the egg. Very exciting! Dances were had, songs were sang, meal worms were handed out by the handful. Slight exaggeration?? However, it was in a very strange place and we can't find any others nearby or anywhere else... we've looked everywhere. They're such adventurous ducks that they don't stay in one place for longer than 2 minutes, so we can't even think where she might be laying.


But anyway, Delilah is a girl; what on earth will I do with my evenings now?!? My computer may have withdrawal symptoms from me Googling 'When do Call ducks start laying?', 'Do female ducks laugh?', 'Do male Call ducks have orange beaks?'...

Wednesday, 24 July 2013

Chicken Liver Pâté

Everyone knows that this weather is prime picnic time... and what picnic is complete without pâté?!? Especially when it's so quick and simple to make!


It's best if you have a food processor or blender to whizz up the livers to create a smooth texture, but if you prefer chunky pâté, then mashing it up with a fork will do just fine

Ingredients
10-14 Chicken livers (around 250g) TIP: You could substitite chicken for duck or goose livers if you fancied it
100g Butter plus extra for sealing the top
1 Garlic clove, crushed
1 tsp fresh thyme, finely chopped
50ml brandy (madeira or similar could be substituted here if you prefer)
50ml double cream (optional)
salt & pepper for seasoning

If you like prunes (i'm not a big fan) I hear they work superbly well in country pâté. Finely chop 2-3 prunes and add to the pan at the same time as the garlic and thyme.

Serving: 4-6

Method
1) Take a small frying pan and melt 2tsp of the butter on a medium heat. When it bubbles and goes frothy, add the livers.
2) Cook for a few minutes, turning occasionally, until they turn pink/grey.
3) Place the livers in a blender and whizz up until it reaches a consistency you like. I like it super smooth.

4) Put the frying pan back on the heat and gently heat the thyme and garlic for a minute or so, until soft.
5) Add the brandy, slowly and carefully, to the pan and let it bubble for a few minutes.
6) Once reduced slightly, pour into the blender. Also add the remaining butter (except the bit you've left for the top) to the blender and season. This would also be the time to add your double cream if you're using it.
7) Whizz until it reaches your desired consistency and voila, ready to take to your picnic :)

8) If you're not going to eat it immediately, pop it into a jar... a Kilner jar looks pretty awesome...melt your leftover butter very slowly, not allowing it to bubble and then pour over the top of the pâté.
9) Allow to cool and store in the fridge for up to 5 days, although I know you'll eat it all before then.

You can make 1-2 portions of pâté with the chicken liver you'll get with your giblets if you buy a roast chicken for your Sunday Lunch. I find it so satisfying to use every part of the roast chicken, or any joint of meat for that matter! If you do want to make a smaller amount with your left over chicken liver, you can scale down the above recipe. TIP: Just remember to add the same size amount of butter as you have livers (in volume, not weight).

Please share your pâté picnic snaps, and let me know what pâte varieties you like. Enjoy the sun... responsibly :p

Sunday, 21 July 2013

Navy Upright Collar Dress

Before the weather turned very untypically English, I decided to try turning a summer tea dress pattern into a more sophisticated self-shaping dress, inspired a little bit by Emilia Wickstead's Coat Dress worn by Kate Middleton on St Paddy's Day.


I already had the McCall's M6503 pattern sitting in my room (which also makes lovely summer dresses, perfect for this time of year), so instead of searching for a different pattern, I thought i'd give an adaptation a try (View D). Making things difficult for myself.... again!


The first thing I did was measured myself and compared my measurements to the finished garment measurements. TIP: Summer dresses often have bigger pattern pieces, because a bit of extra material looks nice and drapey in a soft floaty material. However, I wanted each piece to lie flat and didn't want too many gathers, as in a thicker material it would look too bulky. It turned out the only thing I needed to adjust slightly was the front bodice pieces. I took a little bit off the centre and side seam edges, so that there were less gathers under the bust line.

Next, the fun part, choosing the fabric: I knew I wanted a material that would keep it's shape, but it couldn't be too thick or stiff. A medium weight corduroy would have the type of thing I was looking for, but at my local market I stumbled up on a navy felt/fleece, with a polyester backing - PERFECT! I was so excited to get going. I also chose a contrast chequered material for the waist and collar.

And so I got started :) I didn't have to change anything else, but I would always suggest TIP: to tack the bodice pieces together first to make sure all the sizing is correct, especially when you are adapting a pattern.


The only thing that was a little tricky, because of the thicker material, was the collar. I found that trying to sew that many layers of fabric is best done by hand. The collar on my dress isn't perfect even now, but I don't think it's too noticeable. I'm sure you'll have more luck!

Have you made a different type of look with a different fabric? Post your pictures!

Tuesday, 2 July 2013

Pinny of the Month

Ok so I admit, this is a little late, but here's June's Pinny of the Month....

I spotted it a few months ago on the Jessie Steele website. It is an american website, but they do ship to the UK, and every single one of these pinnies is a winner, so you won't regret typing .com into your browser!

Apple of my Eye Black Gigi Apron

Loads of the pinnies also come with matching tea towels, gloves and heat pads etc.

Jessie Steele is a family run Mother and Daughter born company, and their love for pinnies, family and femininity really shines through. Most of them have a slightly retro look, and every one is special.

You'll probably be seeing a fair amount more pinnies on this feature that come from this website as they're all beautiful; choosing just one is so difficult! Go and check it out and I guarantee you won't come alway empty handed.

Pinny love -x-x-x-x-

Summery Sundried Tomato Fish

I love eating outside in the evening and the lovely weather we've been having recently means that I've been doing it a LOT. However, I don't know about you but there's only so many times I can eat a BBQ. Last night, instead getting the BBQ out, I cooked a lovely summery fish recipe inside and served it up with salad and new potatoes to eat outside. Divine. It's also such a simple and quick dish.


My absolute favourite fish is Turbot - but it's pretty difficult to come by, so any white fish would be just fine. I used Seabass this time and it worked out great!

Ingredients
2 Fresh white fish of your choice, deboned and scales removed (you can also use fillets if you prefer)
1-2 Fish stock cube
Fresh thyme
1 lemon
Olive oil
3tbsp white wine
Sun-dried tomato paste (TIP: whizzed up sun-dried tomatoes always tastes just that tiny bit better than the paste in a jar)
1tbsp capers
1 handful of cherry tomatoes or 2 sliced up salad tomatoes
Fresh Basil

Serving: 4

Method
1) Preheat the oven to 200degrees (180degrees fan)
2) Make a paste with your fish stock cube and a little water. Add a small squeeze of lemon juice
3) Spread your paste over both sides and inside your fish (TIP: remember to rub head to tail so you don't spike yourself)
4) Place a few sprigs of fresh thyme inside the fish. If you're using fish fillets, just place it in the pan just before you add the fish
5) Choose a frying pan that can go both on the hob and in the oven and coat the bottom with olive oil. A cast iron one works brilliantly if you have one
6) Heat your pan of oil and when it's hot place your fish in. Turn the fish over so that both sides fry for around 25seconds and both sides are sealed
7) Transfer your pan into the middle shelf of the oven
8) Meanwhile make your sauce - Mix 2tbsp Olive oil, white wine, sun-dried tomato paste, capers, cherry tomatoes, basil and half a lemon's worth of juice in a bowl
9) After 12 minutes has past, take your pan out of the oven and pour your sauce evenly over the fish
10) Place the pan back into the oven for another 5 minutes, or until your fish has cooked through
11) And there you go. Remove your fish and serve up with your choice of sides....mine would be new potatoes and a nice simple salad.


One summery, quick and simple dinner. Enjoy :)

Sunday, 19 May 2013

Pinny of the Month

This month I thought I'd show you all some pinnies (or a whole website) with the fun factor! Wearing a pinny isn't exactly a necessary accessory, so why not lighten the mood in the kitchen with something from  Bambino Amore ?

Bambino Amore is an Etsy based shop selling retro inspired pinny's which focus on the large heart shaped stiff front panel... gorgeous.

I haven't been able to choose my favourite from this site because you could use so many of them for different occasions. I love their floral and fun patterned designs....


....but their whimsical 'party pieces' are real show stoppers, and i'm so tempted to buy one of the designs below....

Harley Quinn
Superwoman


Can you imagine hosting a themed dinner party in them? Even if you weren't going to use them in the kitchen, they'd make a really fun fancy dress outfit.

Help me decide?? Please :)

Wednesday, 15 May 2013

Cookie Time Saver

Don't you sometimes wish you could have just one (or two) freshly baked cookies without having to make and cook a whole batch?

Here's how you can do it!

Take your favourite cookie recipe (mine is the chewy kind - see this one I have on my blog if you're looking for one) and make more dough than you need.

Form balls of dough, just like you would if you were baking the cookies, and lay them on a baking sheet. Place the baking sheet flat in the freezer for 2-3 hours.


Once fully hardened, you can remove the baking sheet, and place all of the uncooked cookie balls in a plastic bag and pop the bag back in the freezer.

Then, when you fancy one, place one in the oven on a small lined baking tray and cook as per your cookie baking recipe, adding on 1 or so minutes to the cooking time!

And there you go, in a matter of minutes you'll have one freshly baked cookie without all the faff of mixing the dough. YUM!!!